


If you are someone who legally buys his or her apps, music, movies and books from iTunes then chances are that you have already spent hundreds if not thousands of dollars through your Apple ID. Apple operates different iTunes stores for different countries, which means your Apple ID is associated with the country you created it in. When you permanently (or for a significant amount of time) move from one country to another you have to change the home country for that account in order to use your new payment details with your current account.
This solution is much better than creating a new Apple ID and starting from scratch. Changing the country for an iTunes or App Store Apple ID is very simple and once you do it all your purchases will remain there, while you can use you new address and payment details to make new purchases. In this post we are going to show you how you can change the country for your Apple ID using iTunes as well as Apple’s website. Before you begin please note that you will need a permanent address and optionally a payment method associated with the new country’s address for this to work properly.
Through iTunes
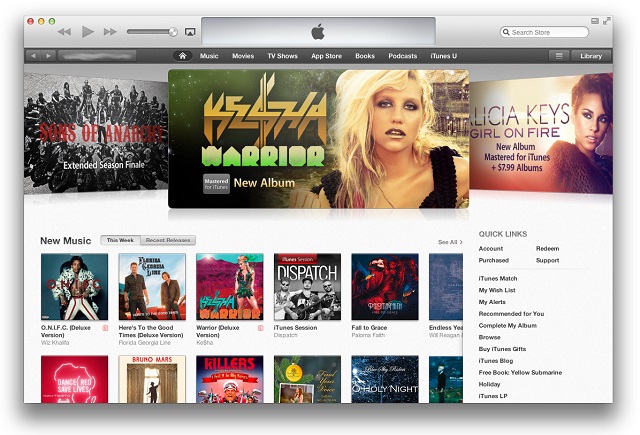
If you are doing this using iTunes then click on ‘iTunes Store’ button located on top right side of your screen and then click on the button that has your Apple ID written on it. You will find it in left side of the navbar.
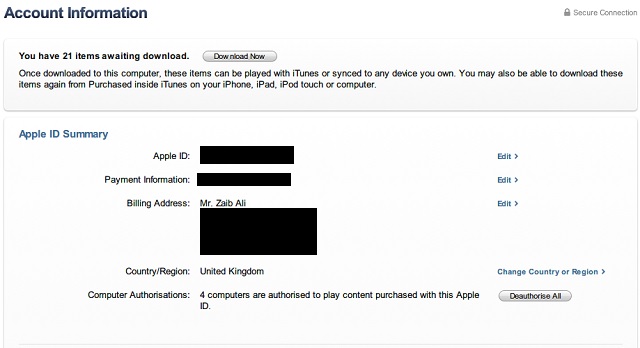
Click on the ‘Account’ option from the menu and enter your username and password. On the next screen you will find your account summary. Look for ‘Country/Region’ and then click on ‘Change country or region’ option.
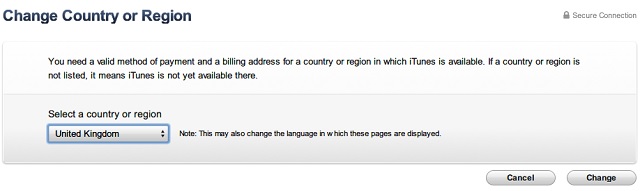 On the next screen choose the country you want your Apple ID to be associated with. Click ‘Continue’ on the next screen and accept terms and conditions.
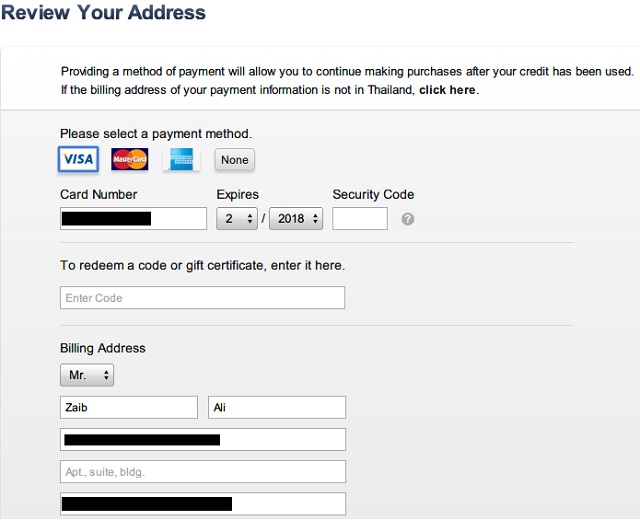
After you have accepted everything iTunes will take you to a new page asking you to review your address. Enter the relevant details and payment method. You can also choose ‘none’ as payment option if you want. After you are done simply click on the ‘Continue’ button. That’s it!
Through Apple’s website
You can also use Apple’s website to change the address and country details for your account. In order to do so head to http://appleid.apple.com and login into your account. Next click on ‘Addresses’ from the sidebar and click on edit. On the next page type in the name of your new country under Country/Region along with address details and hit ‘Save’. That’s it.


There is no iTunes Store button on the iTunes page. None.
Just in case anyone is wondering — this article is BLATANTLY wrong. When you change countries, your previous purchases DO NOT remain in your purchased list.