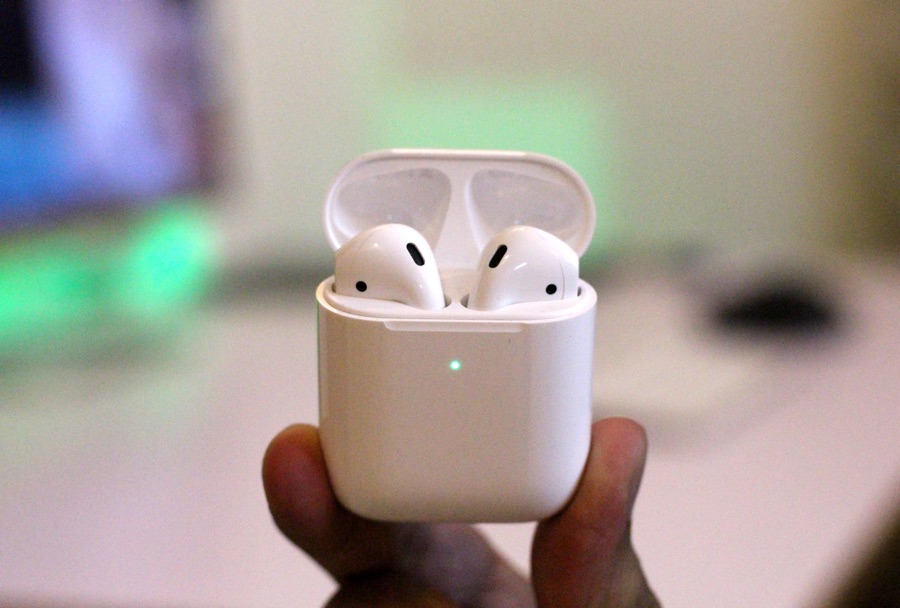
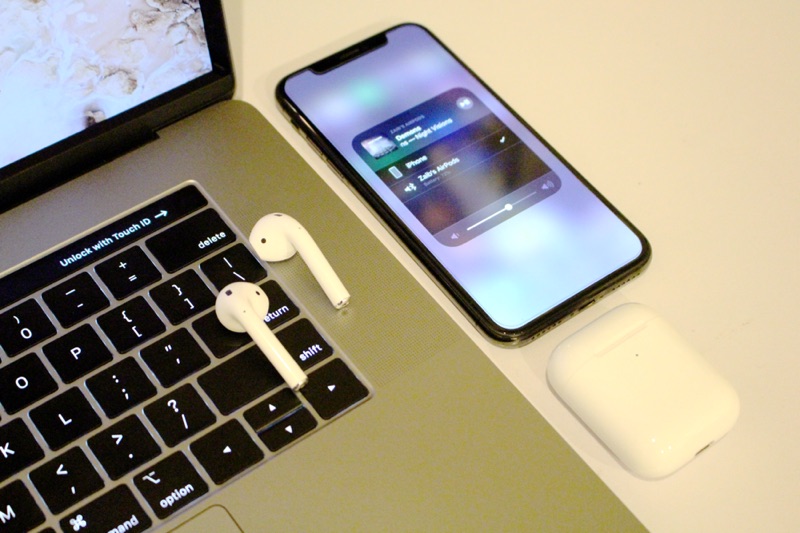
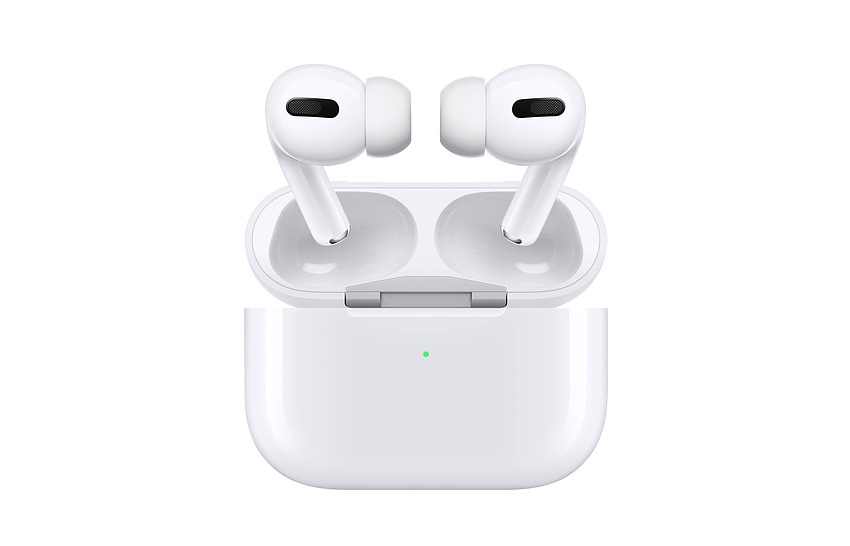
If you’re looking for easy to follow steps on how to connect AirPods to Mac or Windows PC, then you have arrived at the best possible place. AirPods are a convenient piece of tech that are focused on making user’s life easy.
However it is also true that they are very iPhone and iPad centric. What we mean by that should be apparent to you considering you are on a page that shows steps to connect AirPods to Mac or Windows.
While you can perfectly use the AirPods with Windows 10 or macOS, the steps for connecting them and switching to them are not as easy as on iOS. But there’s no need to worry, by the end of this tutorial you will have no problem in using your original AirPods, AirPods 2 or AirPods Pro with your computer.
How To Connect AirPods To Mac
Just got a pair of AirPods and want to connect them to your Mac or MacBook? Just follow the simple steps below.
Connect AirPods To Mac
- On your Mac go to System Preferences and click on Bluetooth option.
- Make sure Bluetooth is enabled on the Mac.
- Now open the lid of the AirPods case and press and hold the button its back until the white starts flashing in white.
- Your AirPods should now appear on the list of Bluetooth devices.
- Simply click on the ‘Connect’ button to pair AirPods with your Mac.
How To Connect AirPods To Windows 10 PC
Here are the step by step instructions on how to connect AirPods to Windows 10 PC. With these simple and easy to follow steps you can pair AirPods with PC or Windows Laptop in a few moments.
Connect AirPods To Windows 10 PC
- On your PC go to Settings and then choose Devices from the menu.
- From the top of the Bluetooth & other devices page click on Add Bluetooth or other device.
- Now from the Add a device window click on the Bluetooth option.
- Now open the AirPods case’s lid. Then press and hold the button located on the back of the case until the light starts flashing in white color.
- Now your AirPods will appear on the Add a device window. Click on the Pair and Connect option.
That’s it, now your AirPods are connected to Windows 10 PC. You can start using them to listen to your favorite music or watch videos with them.
Now that your AirPods are paired with your Windows 10 PC, you will be able to quickly connect to them every time you want to use them. To do this you simply have to go do Settings -> Bluetooth & other devices page and click on your AirPods from the list to connect.
Why Won’t AirPods Not Connect To My Mac or Windows
We just showed you how easy it is to connect AirPods to Mac or Windows PC. However there are times when the connection does not go as smoothly as demonstrated in this guide. When you are running into troubles with your AirPods not being able to connect to your Mac, there are a few solutions that you can try.
One of the solutions that works most of the time involves resetting the AirPods.
You can reset AirPods by following these steps
- Open AirPods case’s lid and place both AirPods inside the case.
- Press and hold the button located behind the case for 15 seconds, or until the light turns white.
As soon as the light turns white follow the steps to connect them to Mac or Windows outlined above.
More useful AirPods Tutorials:
- How To Rename AirPods And Remove Numbering
- Master The AirPods: 10 AirPods Tips And Tricks
- How To Find AirPods Pro Serial Number
- How To Clean Your AirPods Pro The Right Way


