


In this step by step tutorial we will show you how you can disable System Integrity Protection (SIP) on an Apple Silicon Mac powered by M1, M1 Pro or M1 Max chips.
System Integrity Protection or SIP is enabled on all Apple Silicon Macs by default. It is a feature that is designed to protect Macs from malicious software. It does so by restricting the root user account from performing certain actions on parts of macOS operating system that are protected.
In order to disable System Integrity Protection (SIP) on your Apple Silicon Mac you need to access its Recovery Mode. Once the machine is in Recovery mode you can enter a simple command in Terminal in order to disable this security feature.
The steps for accessing Recovery Mode on Apple Silicon Macs are different than Intel Macs. We have shared the steps for accessing Recovery Mode on M1 Macs below.
By disabling System Integrity Protection (SIP) on your Apple Silicon Mac you might also be able to fix ‘This app is damaged’ issue and run apps downloaded from the Internet.
Got an Intel Mac? Here’s how you can Disable System Integrity Protection (SIP) On Intel Macs.
Disable System Integrity Protection (SIP) on Apple Silicon M1 Macs
Follow the instructions below to disable System Integrity Protection (SIP) on M1, M1 Pro and M1 Max powered Macs.
1. First of all shutdown your Mac.
2. Once the device has shutdown press and hold its power button. While pressing the button you should see ‘Continue holding for startup options’ right under the Apple logo.
3. Release the button when you see the ‘Loading startup options’.
4. Now your Mac will display two options including your hard drive and Options. Click on Options and then click on Continue.
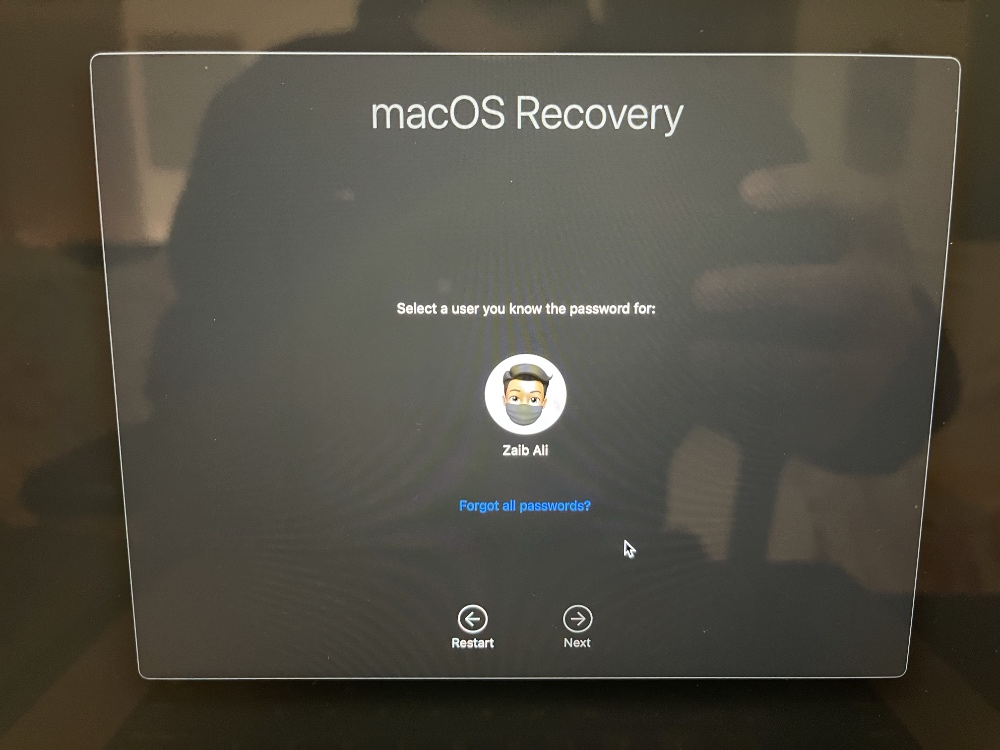
5. Now click on an administrator account and click on Continue. Enter the account’s password to proceed.
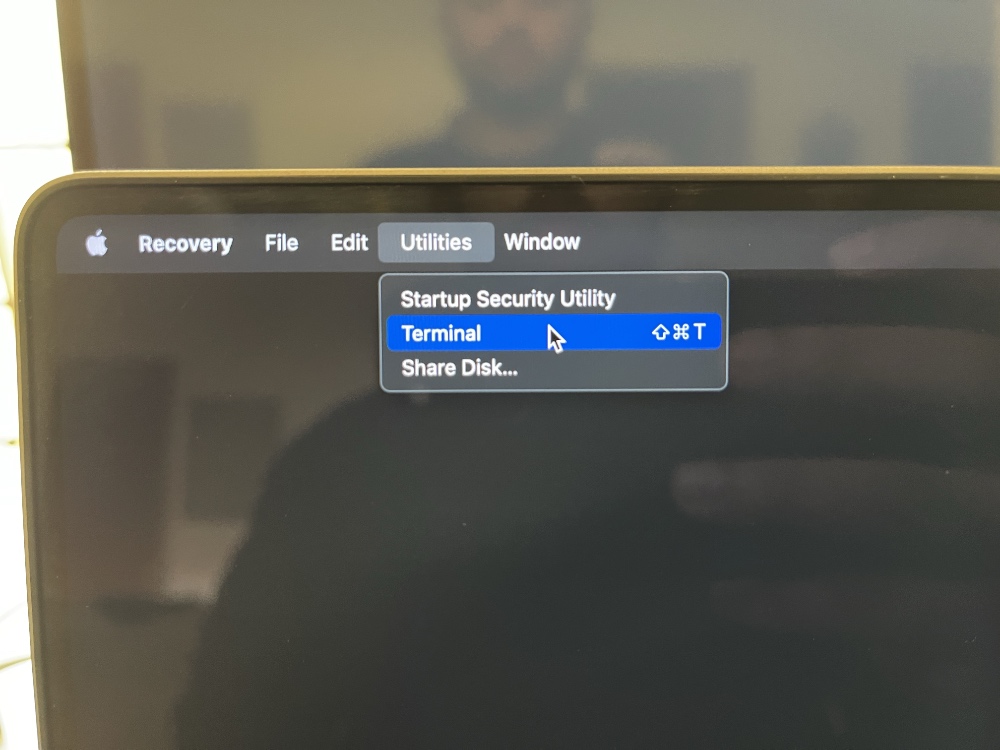
6. Now click on ‘Utilities’ from the top menu bar and from the drop down menu click on Terminal.
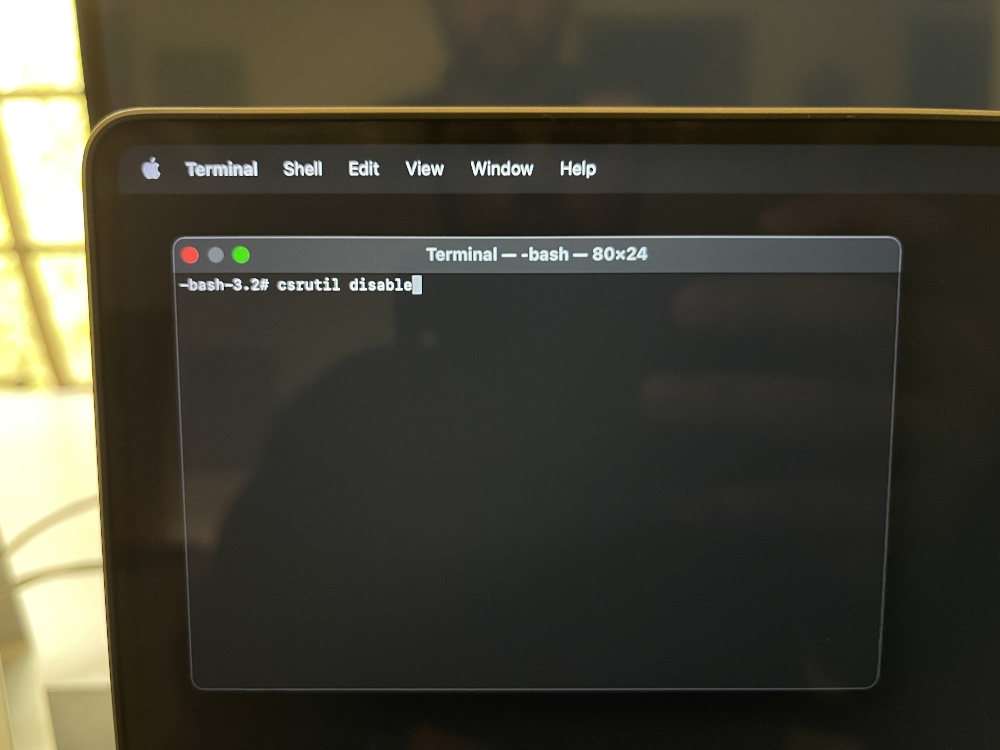
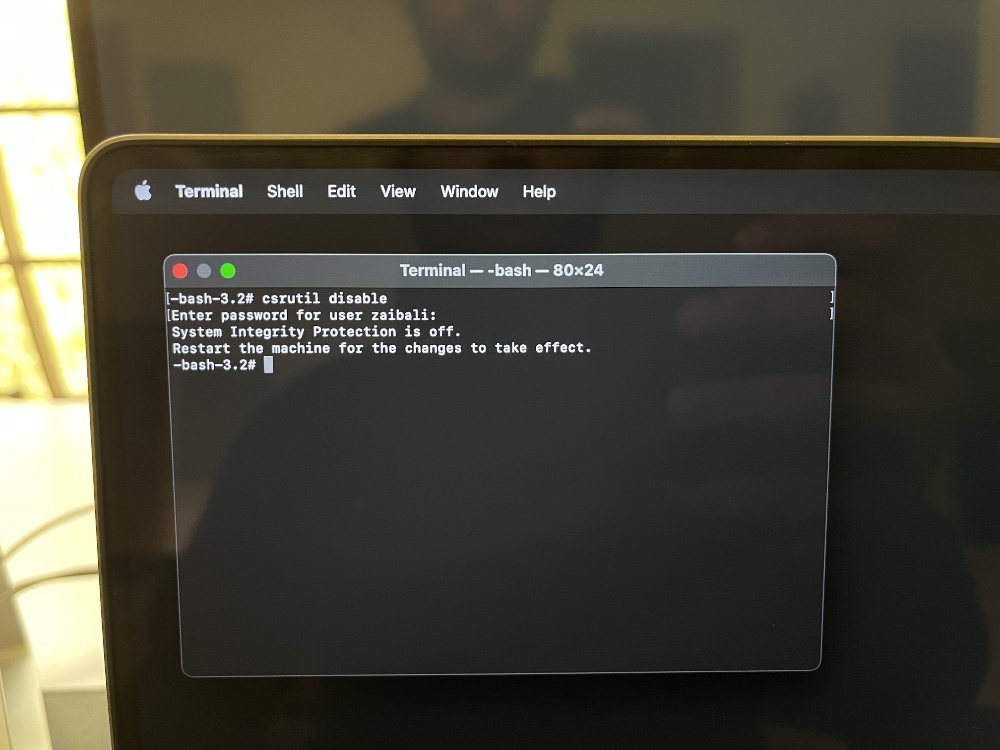
7. Once Terminal is running enter the following command using your keyboard.
csrutil disable
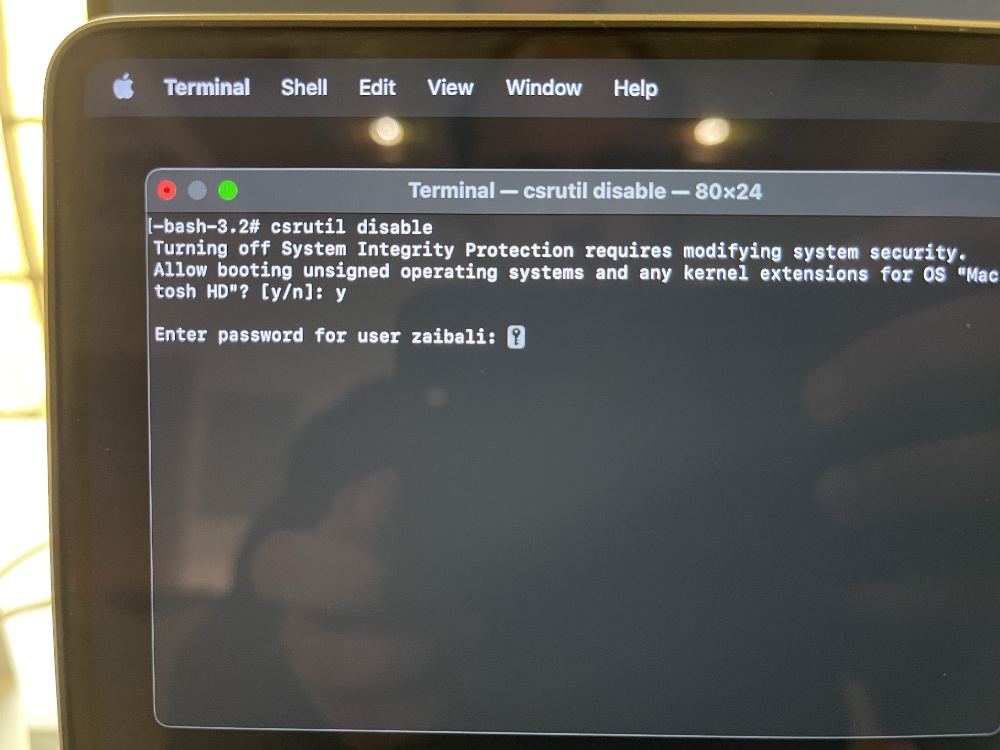
8. Confirm by typing ‘y’ and hitting the return key. Now Terminal will ask you to enter your account’s password. Type your password and hit return key.
9. Now you will get a message that says SIP feature has been disabled.
10. Finally type ‘reboot’ in Terminal in order to reboot your Mac and hit enter.
Enable SIP on Apple Silicon Macs
You can quickly enable SIP on Apple Silicon Mac by following these steps.
- Shutdown your Mac and then press and hold power button until you see ‘Continue holding for startup options’ written under the Apple logo.
- When startup options load click on ‘Options’.
- Next select your Mac’s administrator account and click on Continue. When asked enter its password.
- Now from the top menu bar click on Utilities and launch Terminal from the dropdown menu.
- In Terminal type ‘csrutil enable‘ and hit enter.
- You will be asked to confirm, type ‘y’ and hit enter.
- Enter your Mac’s administrator password.
- After Terminal gives you confirmation that SIP has been enabled type Reboot and hit enter.
There you go folks, this is how you can disable System Integrity Protection (SIP) on Apple Silicon powered Mac with M1, M1 Pro or M1 Max chip.
In the second section of this article we also showed you how you can enable SIP on Apple Silicon Macs.
If you have any questions regarding this guide, then do share with us in the comments below.


