


![]()
Recently we posted a complete guide on how to install Windows 10 on your Mac. Now in this post we will show you how you can uninstall Windows 10 installed through the Boot Camp method. This guide will help people who installed Windows 10 just to try the new features of Microsoft’s OS. So if you’re already fed up or facing problems, as many Windows users are reporting then we’ve got you covered. Just follow the simple steps below to uninstall Windows 10 or any other Windows installed on your Mac using Boot Camp Assistant.
1. Open the Boot Camp Assistant from Applications.
2. A window will appear showing an introduction to Boot Camp. Read it if you like and click the “Continue” button.
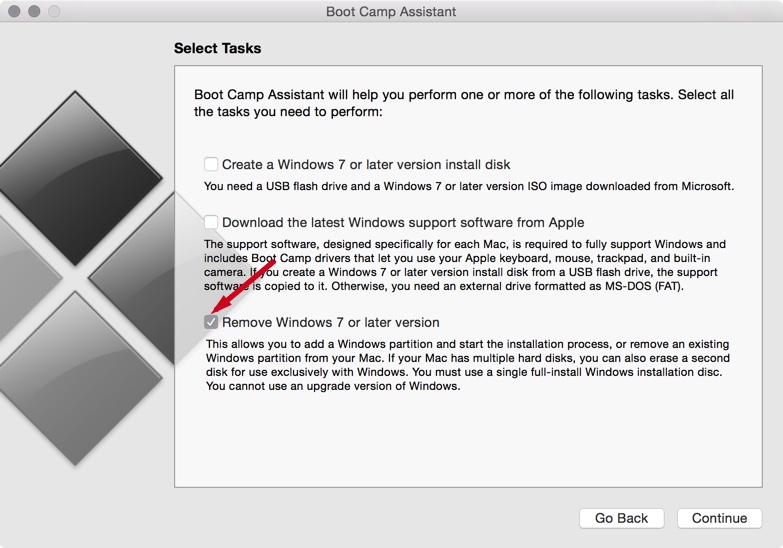
3. Now we’re on tasks selection window, make sure “Remove Windows 7 or later version” box is checked, uncheck all other boxes, as shown above.
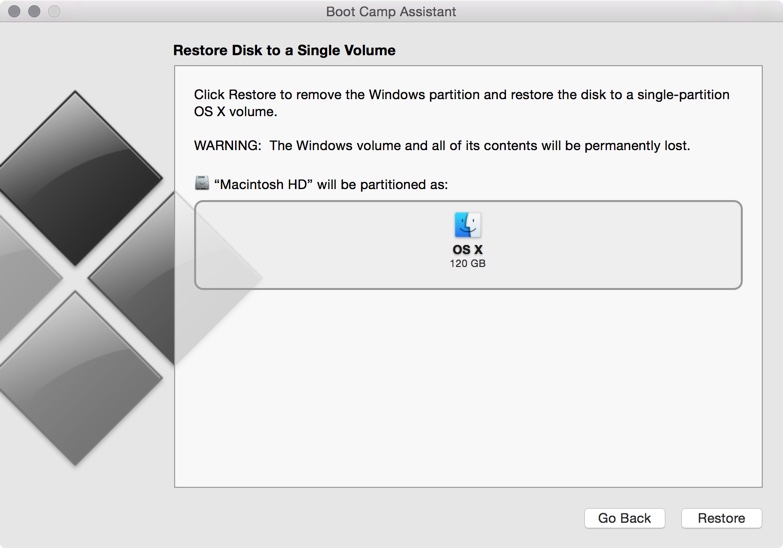
4. Next screen will tell you that Boot Camp is going to restore your storage disk to a single volume. Actually this step will safely merge the partition that was created for installing Windows. So just click “Restore” button.
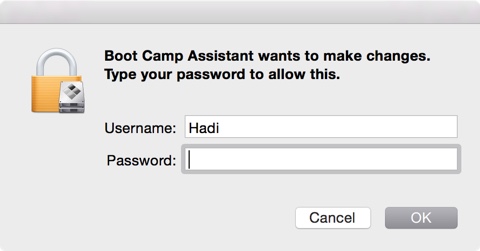
5. Enter your password when asked.
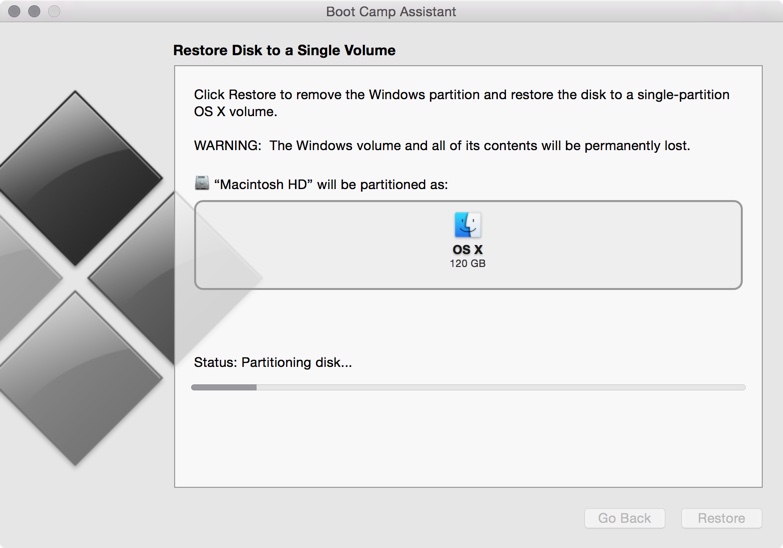
6. Now disk restoring process will start, wait for a couple of minutes.
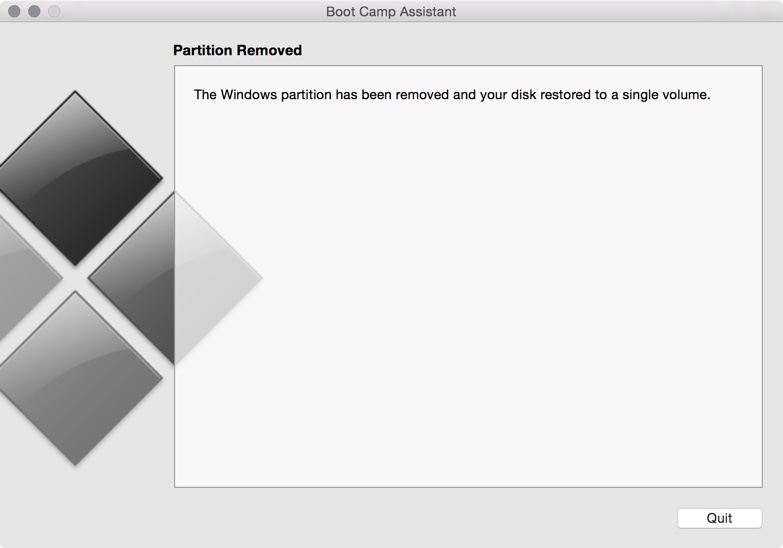
7. You’re done!


