


Along with Philips Hue, I’d say that the Nest is one of the most recognized names in the smart home field. Founded by Tony Fadell in 2010, Nest introduced the Nest Thermostat just a year later in 2011. Tony Fadell had previously done work for Apple, helping with the iPod. The Nest Thermostat that he created clearly has been inspired by Apple, with its beautiful and simplistic design, and the rotating dial which works an awful lot like the iPod’s scroll wheel. Then, in 2014, Google acquired Nest. I, among with many others, found this acquisition to be very disappointing. I was hoping that Apple would acquire Nest, and then it could fit seamlessly into the Apple eco-system. But what I find is that many people forget the fact that they can still control the Nest from their iOS device. From an iOS user’s perspective, is the Nest thermostat worth it?
Initial Thoughts
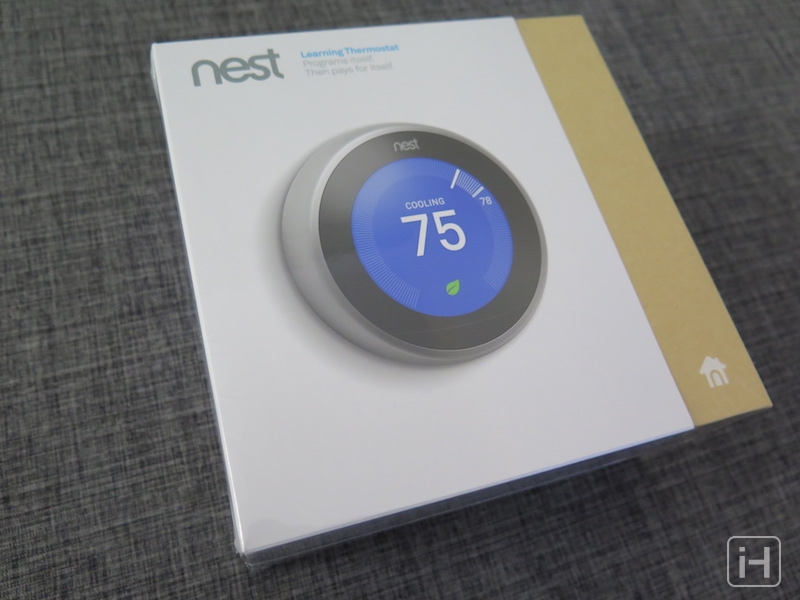
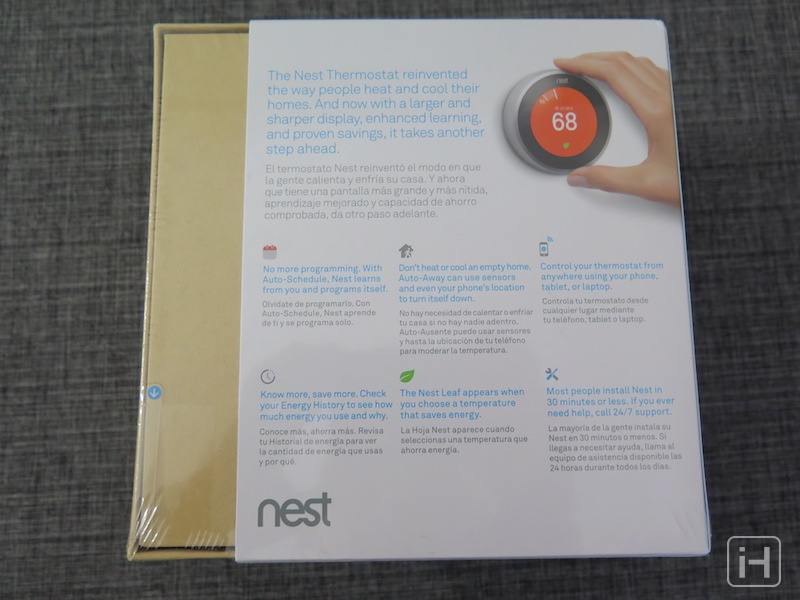
The packaging on the Nest is very well thought out. On the front, you get a good clear view of the thermostat itself, with the tagline “Programs itself. Then pays for itself.” I find that phrase very clever. We’ll get into if it does what it says later on. On the back, it highlights some of its key features, such as automatic scheduling, remote control, easy installation, and energy efficiency.
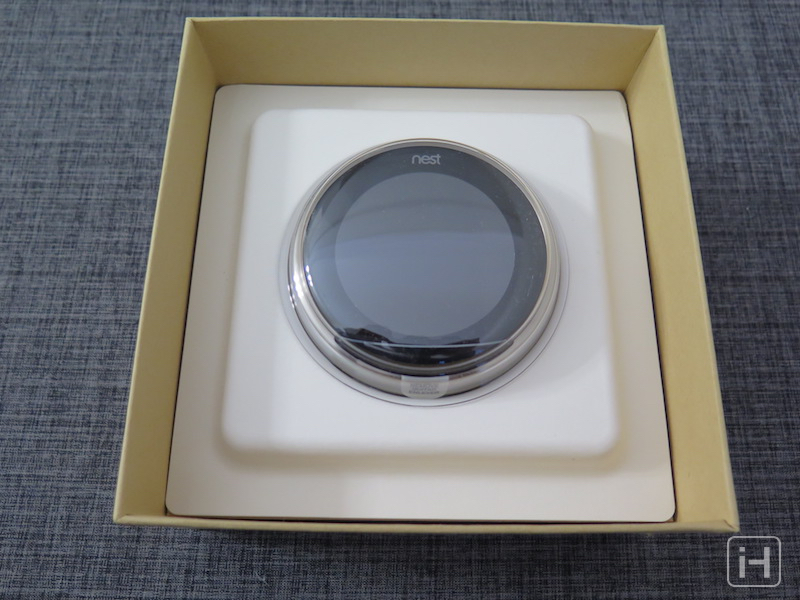
Opening up the box reveals the thermostat itself, in all its glory. Digging a little deeper reveals some inserts, the most important ones probably being the installation guide and the overview of the thermostat. Below that is the base for the display, and a very handy screwdriver, along with two wall screws. At the very bottom, the optional trim and steel plates can be found, along with four screws.

Installation
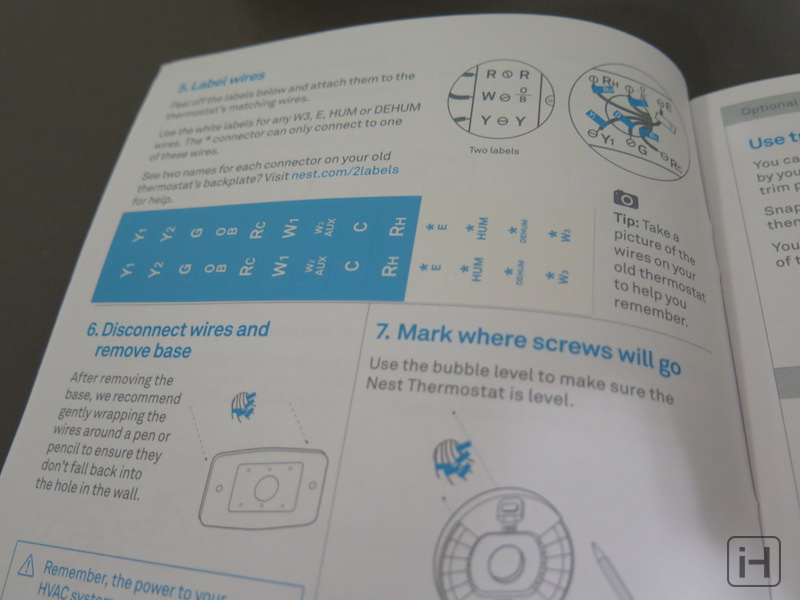
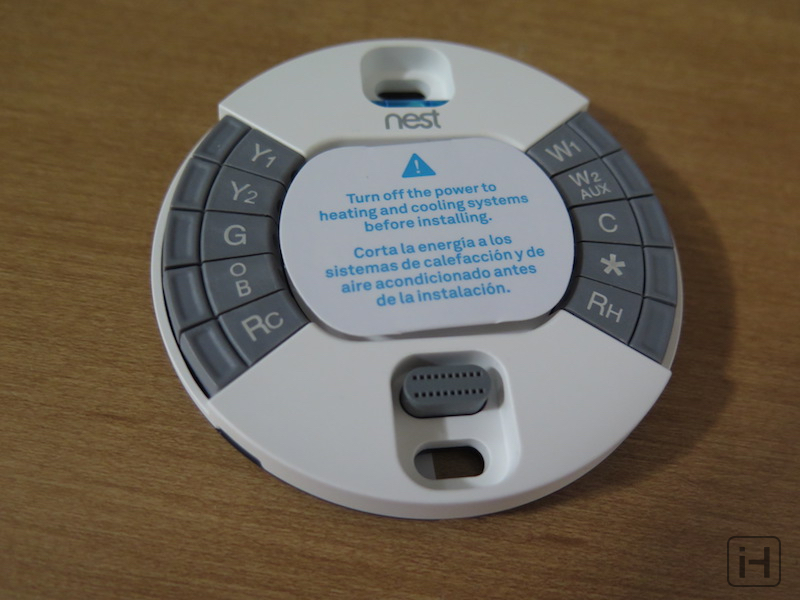
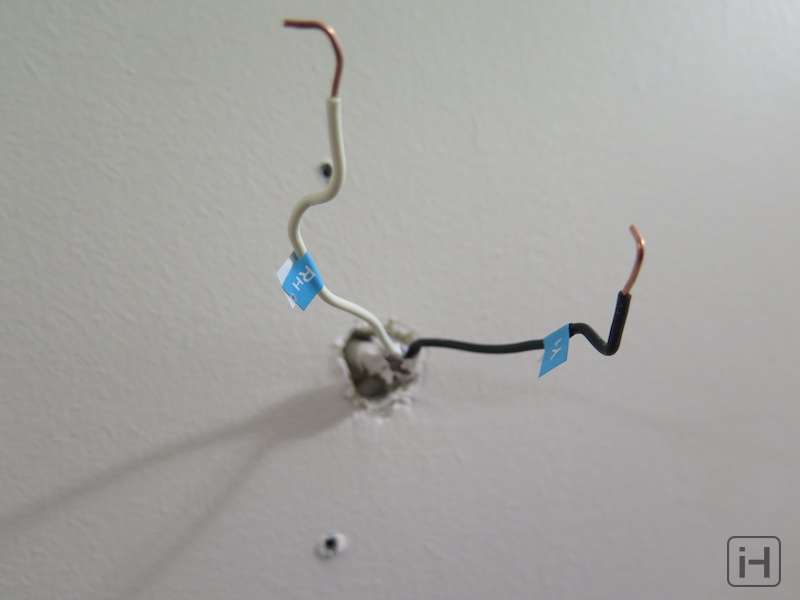
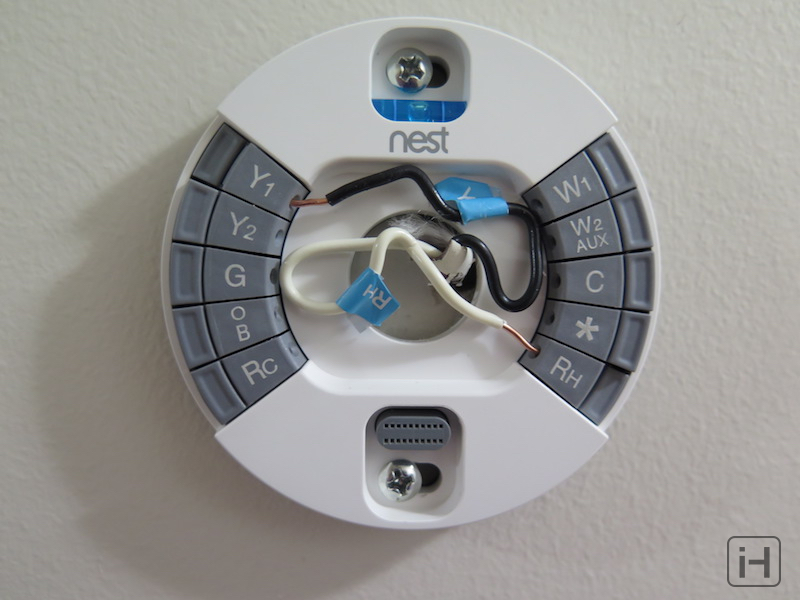
Installation is dead simple. The tools Nest provides in the box makes setting up the Nest an easy ride. As it’s brought out in the installation guide, the first step is to switch off the power to your HVAC system. Next, you remove the cover off your existing thermostat and unscrew the wires. It’s a good idea to take a picture of the wires before you unscrew them so you know which one goes where. Nest includes labels in the installation guide that you can simply peel off and attach to the corresponding wire, making it easy to differentiate them. Then you screw in the base, connect the wires, and attach the display. Then you can turn the power back on. That’s it! While the length of time will vary depending on how many wires you have and what type of thermostat you have, it should be fairly quick. I only had two wires, so I was up and running in just 5 minutes!
Interaction
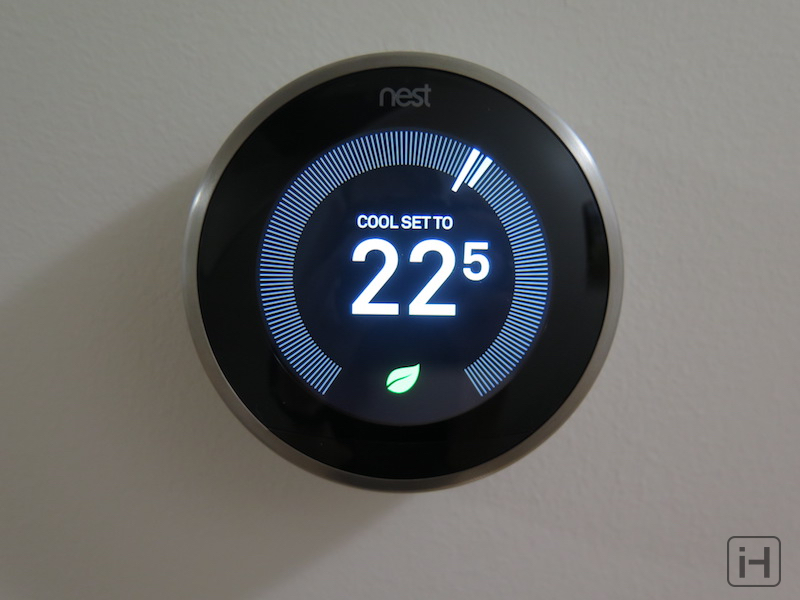
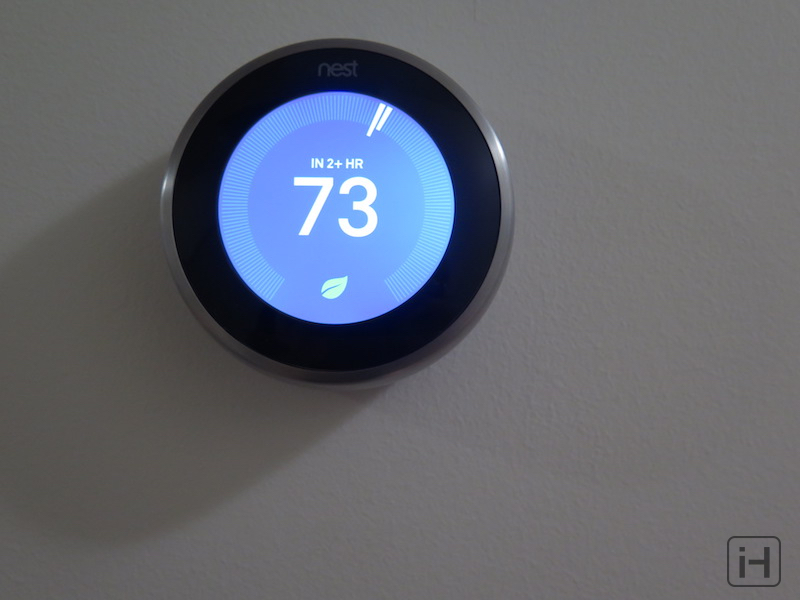
Using the Nest thermostat is quite simple, yet intuitive. If you have ever used a round thermostat made by Honeywell, you will instantly know how to use the Nest. Simply rotating the dial on the Nest will allow you to increase or decrease the temperature. It plays a satisfying click sound every time you move the dial. It’s not too loud, but it’s just the right volume to give audible feedback without becoming annoying. (If you really wish, you can turn it off). Coming from an analog thermostat, I was happy with the simple fact that I could see and adjust precisely the temperature in increments of 0.5.
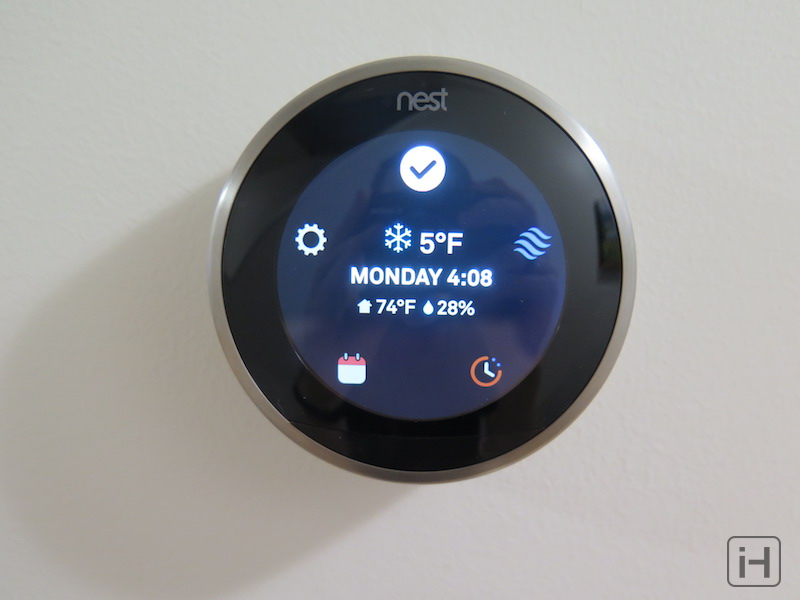
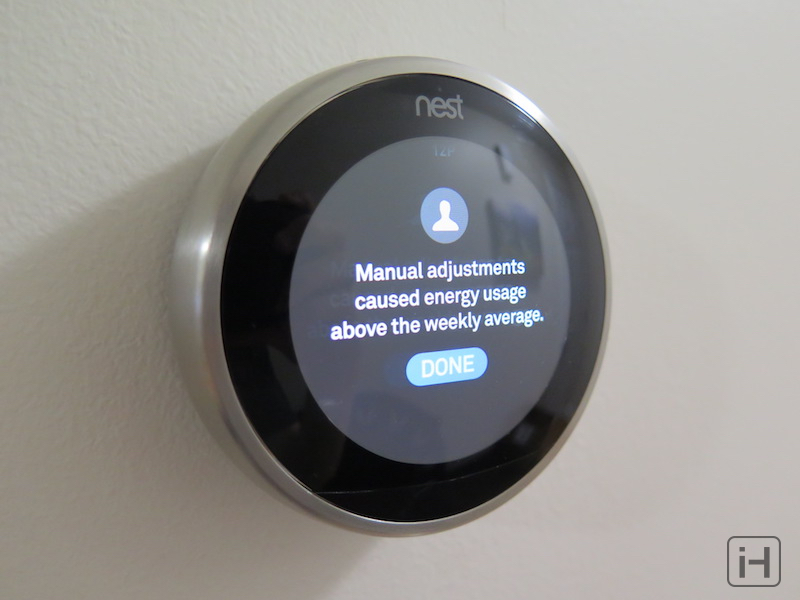
By pushing the dial, you reveal a slew of different options. The first option allows you to switch between heating and cooling, enabling an eco mode, or turning it off altogether. The Eco mode automatically sets the temperature to an energy saving mode. The second option allows you to see how much energy you have used in the past 10 days, and also explains why. I found it to be quite informative on the Nest itself, telling you the cause for the use of energy and also showing you how much was used. The app has a little bit more information, such as what temperatures were set at what time and by who (by manual adjustment, schedule, etc.).
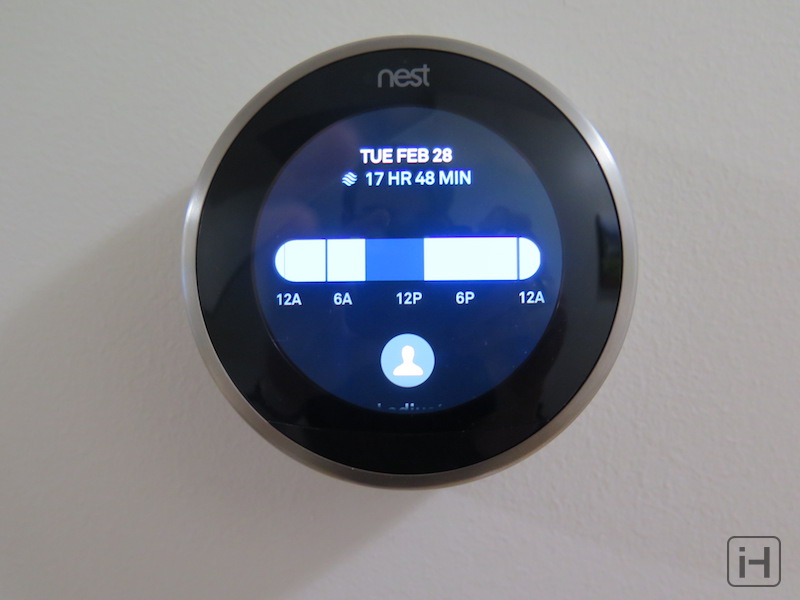
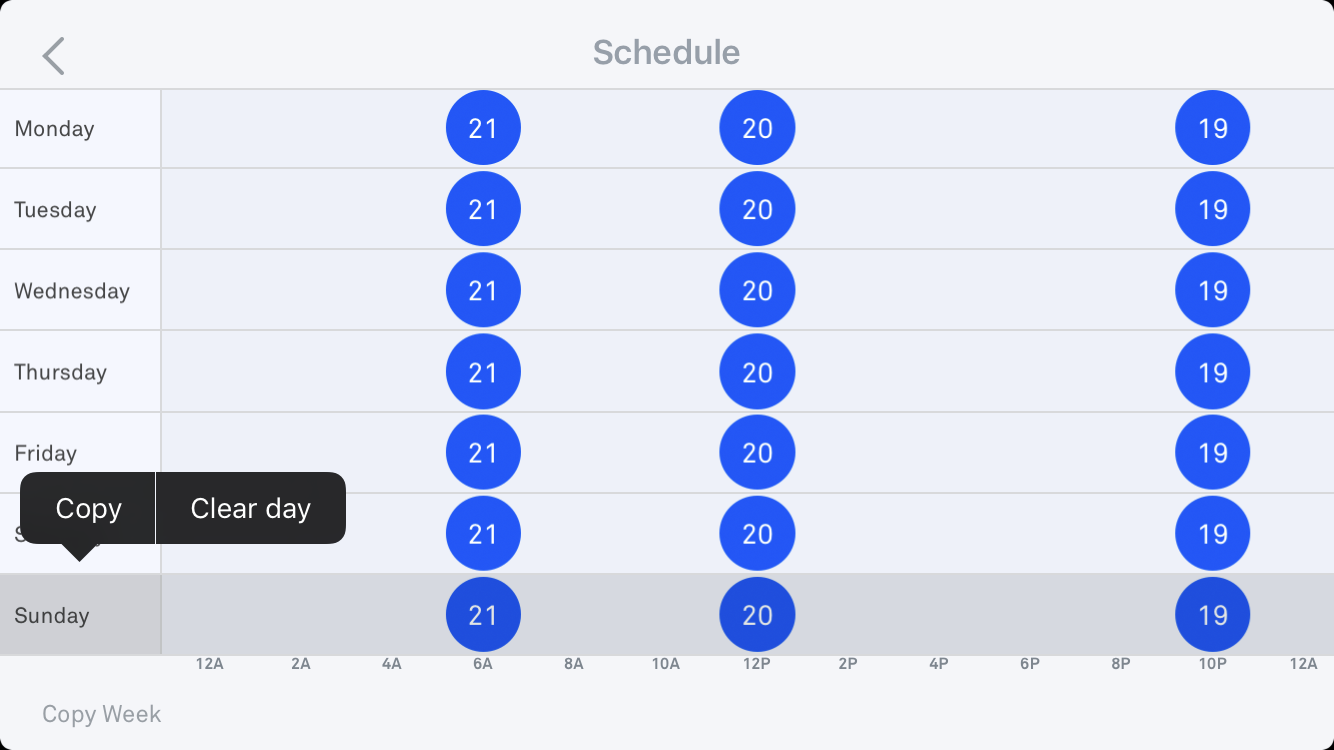
The next option allows you to see your schedule through a variety of methods; the sensors onboard the thermostat, your location via your phone, the time you adjust it at, the weather, etc. The Nest takes all these things into account and builds your schedule. By about a week it has a pretty good idea of how you want the temperature, and it gets even better as you use it more. The schedule menu allows you to see what Nest has learned about your schedule. You can then edit it more to your liking, or help it learn by adding more information. I was really impressed with how much you could edit it on the thermostat itself. You could delete certain temperatures set at certain times, create new ones, and move existing ones around. The only thing you can’t do on the thermostat is copy and paste a day’s schedule; that’s only available in the app.
The schedule feature is very handy. Rather than having to constantly adjust the thermostat regularly depending on the time of day, the Nest does it for you and saves you energy for when you don’t need it. So if you leave the house at 9 every morning of a weekday, it can cool down the home to save energy. Then, if you get back at 5, the Nest knows and automatically heated the home so when you arrive back home, it’s at the ideal temperature. With most thermostats, it’s “set it and forget it.” With the Nest, it’s more like “forget it.” It does it automatically that you don’t even have to remember to adjust the temperature.
The last option is settings. Here, you can configure a lot of different options. One of them is locking the thermostat. You set a 4-digit passcode, then your minimum and maximum temperatures. You can adjust the thermostat in-between the temperatures that you set, but if you try to go past that, you will need to enter your passcode. This is great if you have mischievous kids or presumptuous guests. This is one area where I would find a touch-screen being beneficial, along with entering your Wi-Fi password on the initial setup, but it’s quite surprising how much you can do with just clicking and rotating the dial.
Farsight
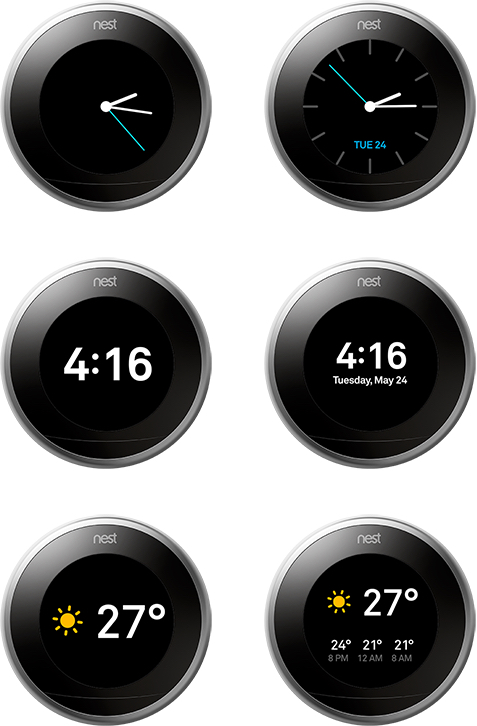
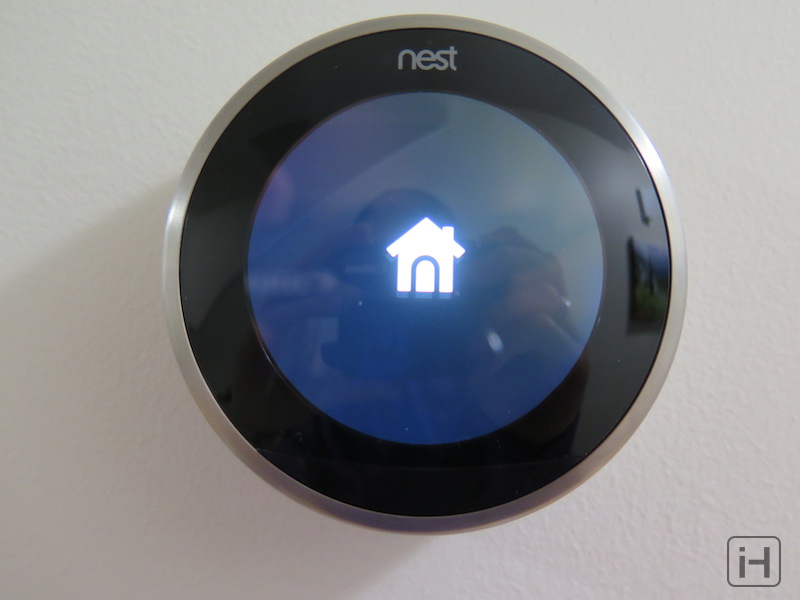
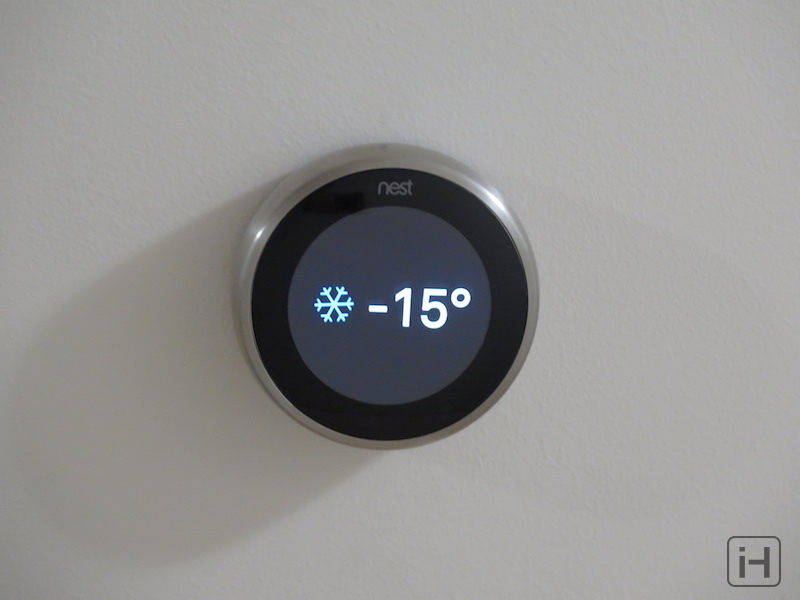
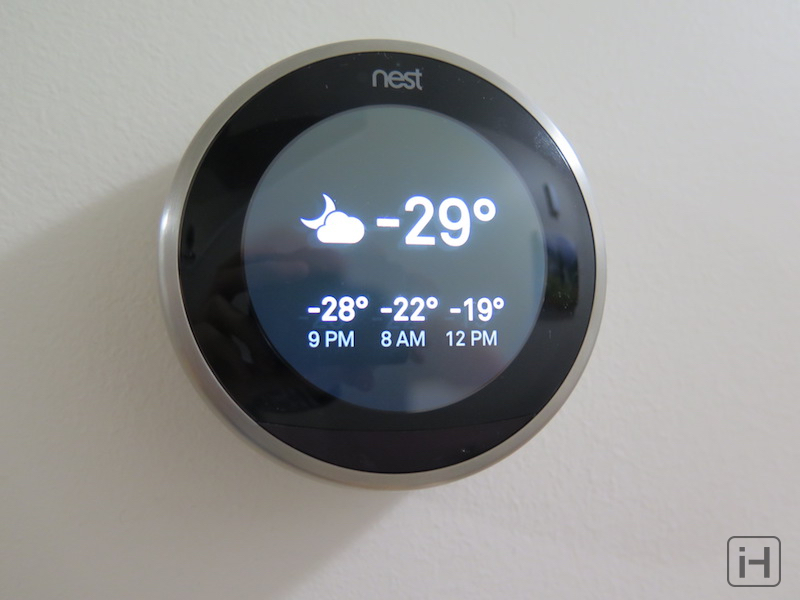
One of my favorite features about the Nest, which is exclusive to the 3rd generation, is Farsight. If enabled, Nest can detect your presence from up to 20ft. Once you get within that range, the Nest’s display can light up and show you information. You can choose between showing the current room temperature, the target temperature, an analog clock, a digital clock, and the weather. From a distance, it’s fairly basic information, but as you get close to it, it can reveal more information, such as the date or the forecast for the day. I really love this feature. It takes advantage of the fact that you have a screen mounted on the wall, which makes it perfect for relaying information. With the Nest Thermostat, you’ll be looking at your thermostat more, and touching it less.
Wishlist
So far, it sounds like the Nest is a pretty solid product. And it is! But it hardly is perfect. I boiled it down to three features that I wish it had, and wouldn’t mind seeing on the next generation.
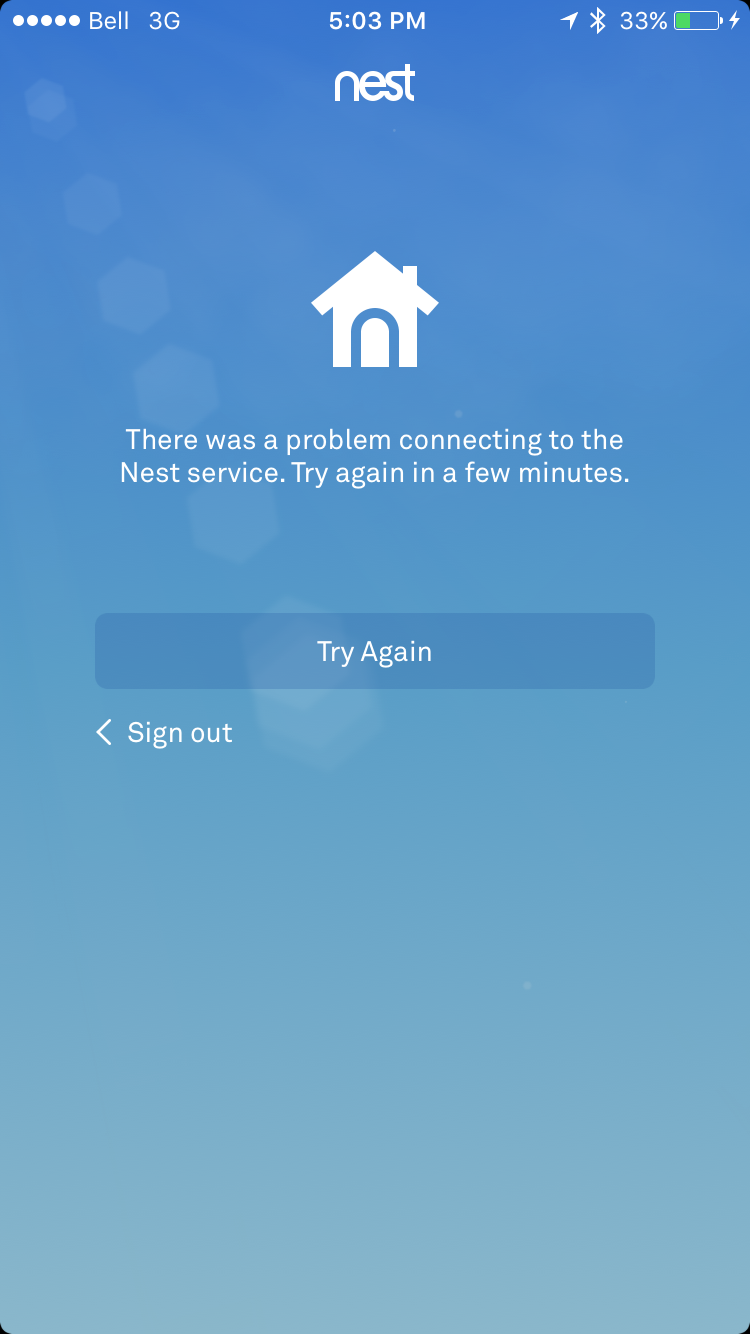
The first feature is a local API. Right now, if you open the Nest app, it has to connect to Nest’s servers. Once you adjust the thermostat to the temperature you want, it sends that information to Nest’s servers, then it needs to send that back to the thermostat. Depending on your internet speed, it could take longer to wait for it to connect than if you were to just get up and adjust it manually. Controlling it over your local network has other benefits too. If Nest’s servers go down, you can’t adjust the temperature from your phone, even if you’re at home. If your internet goes down, you can’t adjust it either. Having local support would fix this problem. Also, having it work locally would give it an instant response, making it get to your desired temperature more quickly, and resulting in a better user experience. Having things work on your local network is also more secure. I understand the having remote access would need the internet, but for just controlling it around the home? Having a local API rather then a Cloud API would be a real plus.
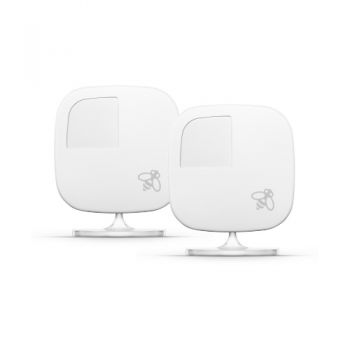
The second feature I would love to see is remote sensors. Not only would this help in getting the ideal temperature in every room, but it could also help with the Nest learning if you are home or not, especially if your thermostat is in a location where it won’t always see you (in my case, at the bottom of the stairs).
The last feature is a long shot, but I do really wish it had native HomeKit support. That initially seems out of the question: after all, Nest is its own platform. But thinking about it more, it makes more sense. Many Apple fans love the look of the thermostat but don’t want to leave Apple’s ecosystem and exchange it for Nest’s. If the Nest Thermostat supported HomeKit, not only would it increase their sales, but it would slowly introduce Nest’s platform to Apple users. After some time, Apple users might decide to get more Nest products because of their experience with the Nest Thermostat. And even if they decide not to, they still have a good attitude about Nest, as it fits perfectly into their existing home automation setup. Like I said, it’s a long shot, but I do think it would help Nest greatly.
![]()
Final Thoughts
Overall, I am extremely happy with the Nest Thermostat, much more than I expected to be. Even with the lack of HomeKit, Nest does offer an iPhone, iPad, and even an Apple Watch app to allow Apple users to control their thermostat. In fact, you can download the Nest app to an iPad 1, if you have one lying around for use with home automation. The Nest looks gorgeous on the wall, it gives you helpful information as you walk by, and probably most important, it automates your schedule, making your home more comfortable and saving you money. According to Nest, on average, it saves around 10% to 12% on heating bills and 15% on cooling bills. That means that the cost you would save would cover the price of the Nest within two years. You can buy the Nest Learning Thermostat (3rd Generation) for $249 from Nest’s official website. It also comes in four different colors: Stainless Steel, White, Copper, and Black.

What are your thoughts of the Nest Learning Thermostat? How has your experience been with it? Let us know in the comments down below!


